Installing a Solar Panel
One feature I like about our travel trailer is the solar setup. The system keeps the batteries charged all the time, even when stored. We have 450 watts of solar panels on top of the trailer, which is enough to recharge the battery bank fully in one day of full sun. The boat batteries are normally charged while underway, when running the generator, or when plugged into shore power. So for normal day to day use, I don’t have to worry much about the batteries, but when leaving the boat in one place for more than a day I would like the batteries to be maintained without any external requirements.
Currently if I want to leave the boat for an extended time I need it connected to power or else make sure absolutely everything is turned off. There is also the possibility that the breaker gets tripped on the dock. This means I can’t leave the refrigerator running without worrying that I may return to dead (and damaged) house batteries.
Also this year we will be visiting some remote areas that won’t have power. It sure would be nice to have some solar assist on days that we don’t move. It is nice for the neighbors if I don’t have to run the generator.
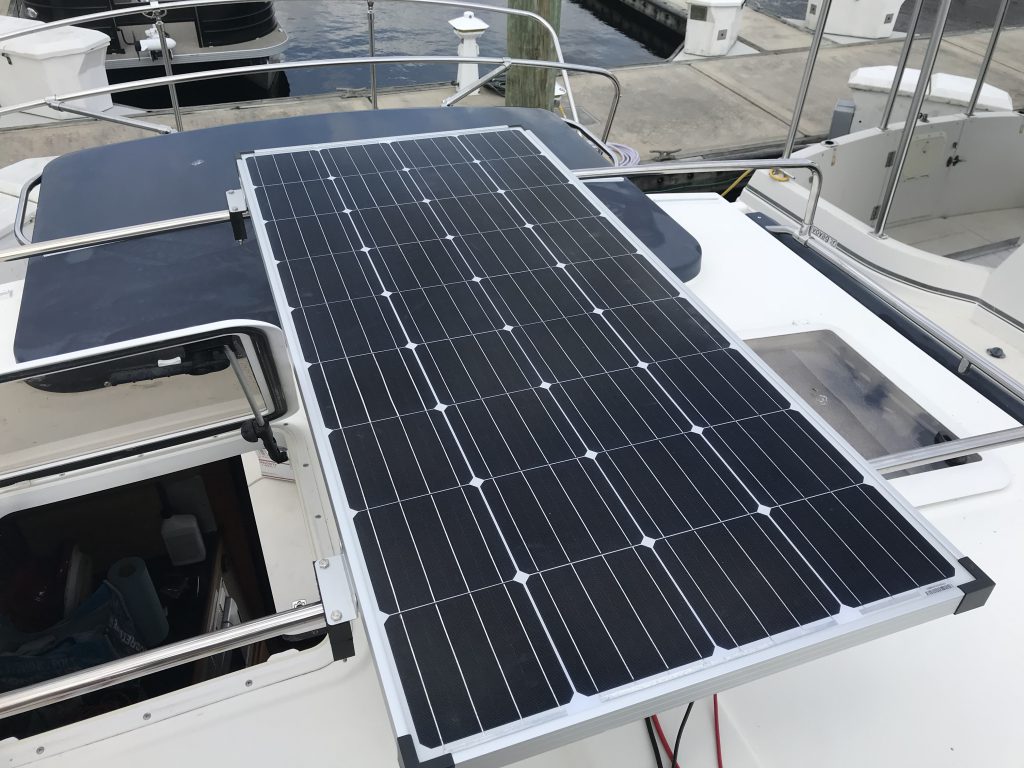
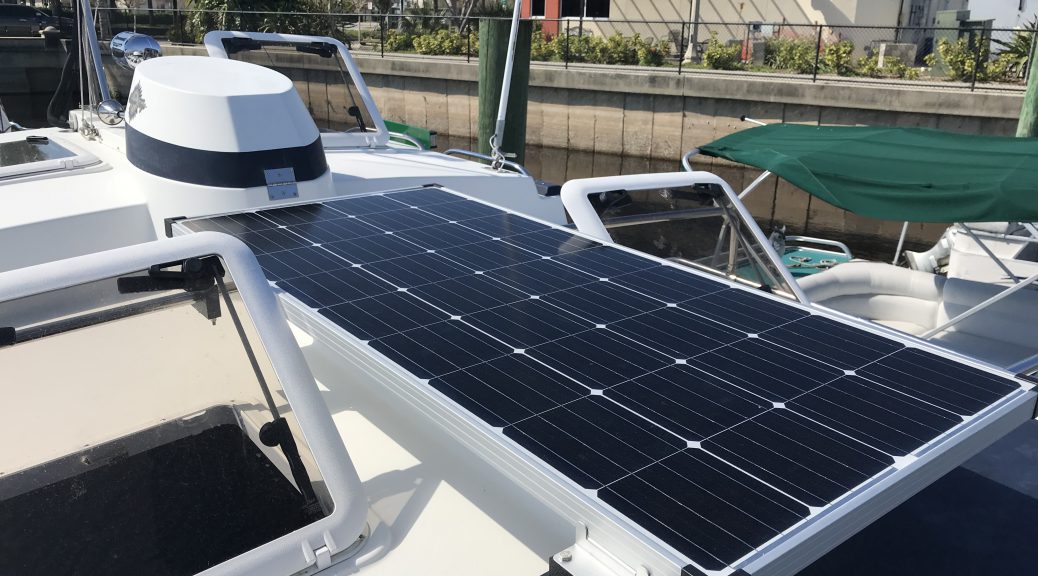
So with those thoughts in mind I decided that I would install a single solar panel on the boat. The single panel will not generate enough current to fully charge the batteries in a day, but it should replenish the energy used by the refrigerator and the other parasite devices we have onboard. The reason for a single panel is to try to avoid blocking the hatches in the ceiling. I found a NuPower panel that is rated for 175 watts, so it is a large-ish panel, but it still should fit on the roof without blocking anything.
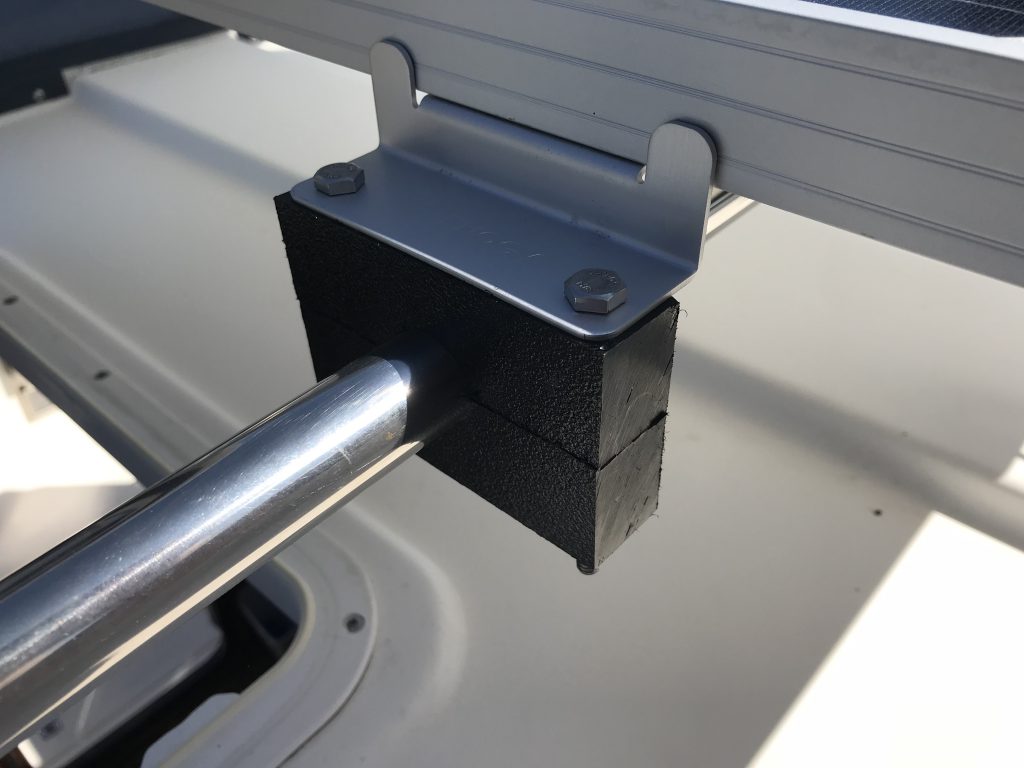
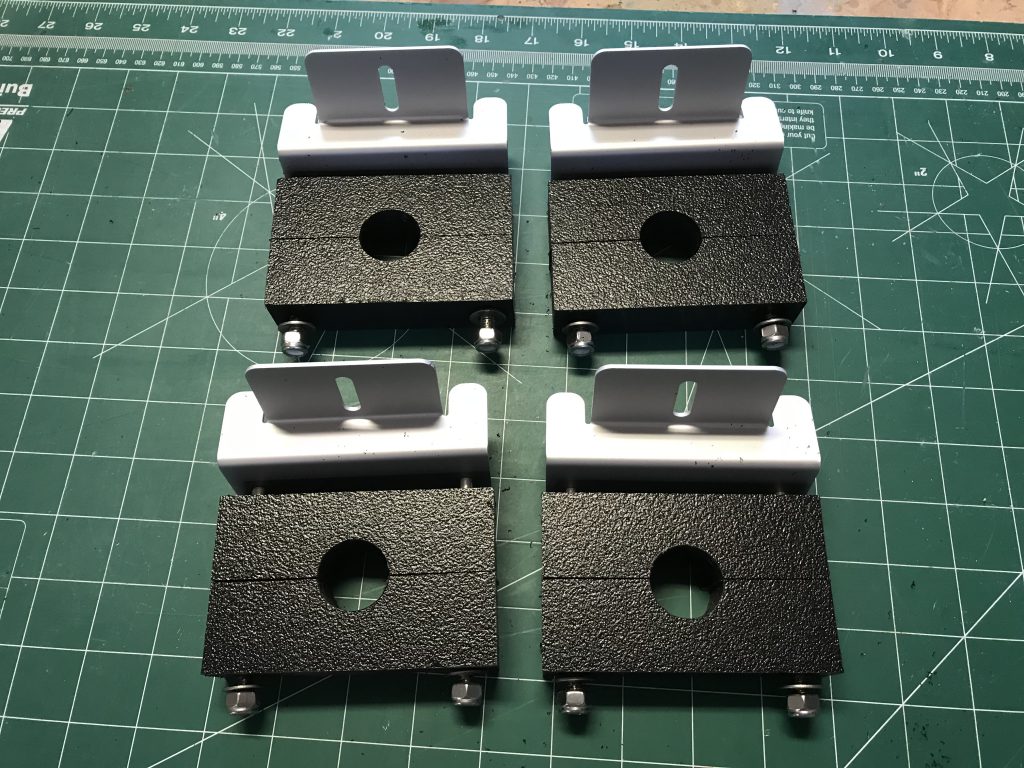
The first task was to invent a way to mount the panel to the luggage rack. I observed the installations on other boats and many used some form of u-clamp. So I ordered the standard aluminum z-brackets from Renogy and then I fabricated some clamping blocks out of UMHW plastic. These share the same hole pattern as the aluminum brackets, so I purchased 1/4” stainless hardware that pass all the way through the block and create the necessary clamping force on the 1” rail.
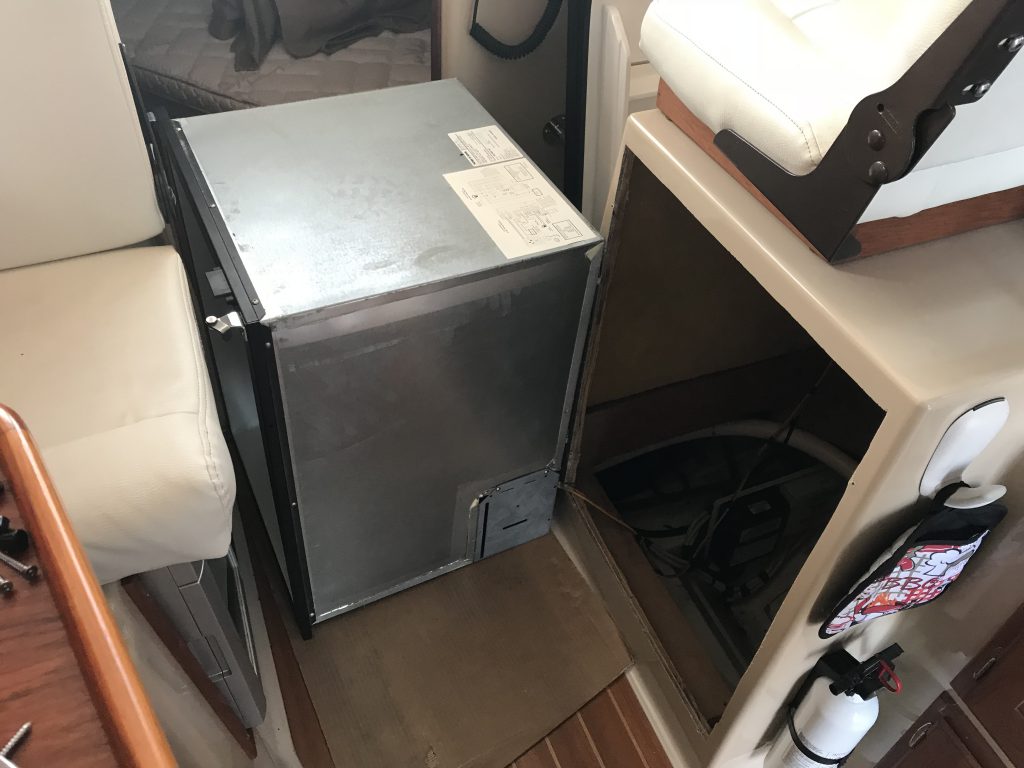
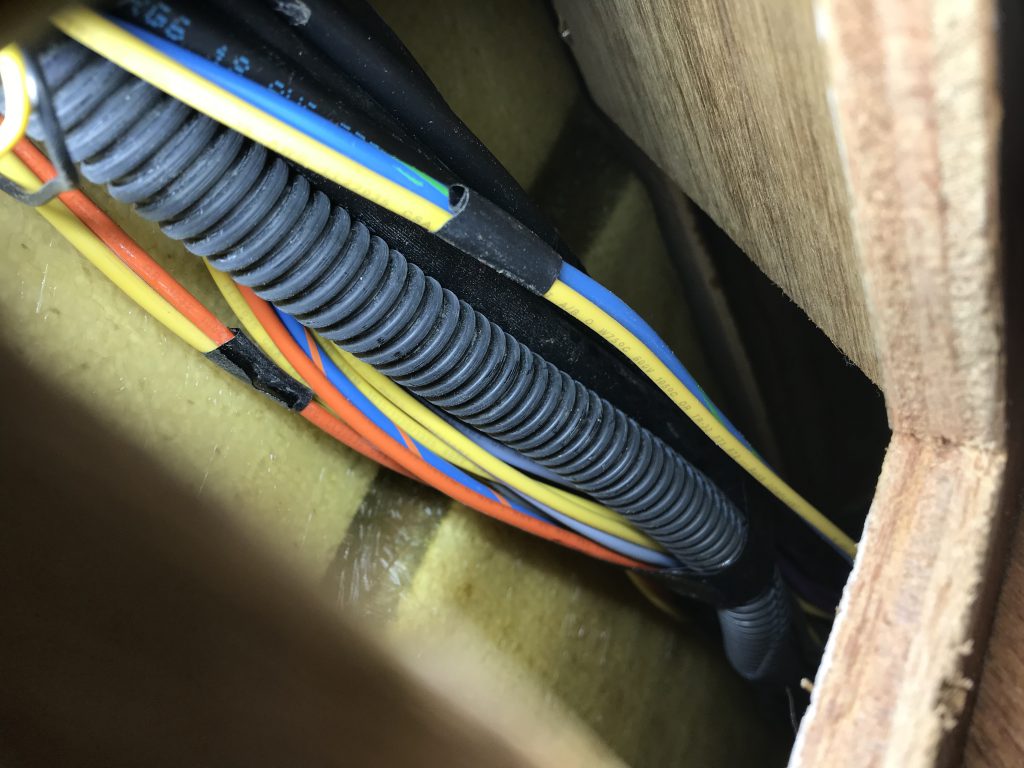
With that solved, the next thing the more difficult task of routing wires from the top of the cabin down to the battery compartment. I spent one full day taking apart the ceiling, removing the refrigerator, and looking behind walls. There is not a lot of space in the walls, but there is a column that is used for other wiring where I thought I could sneak some wires. I decided that the wire I had already ordered (8 awg) was simply too stiff to practical, so I ordered a slightly smaller wire (10 awg) that will have a bit more loss, but would be much more easy to deal with in tight spaces.
When the new wire arrived, I went to the boat early in the morning and opened up all the access panels, opened the ceiling, and removed the refrigerator. Then I spent a long time carefully fishing the new wire through the ceiling and the starboard side wall. The best route for the wire was under the floor to the port side, and then along the interior wall to the electrical console where I planned to install the charge controller and battery monitor. I made a loop and then continued back under the floor and out to the cockpit hatch where the batteries reside.
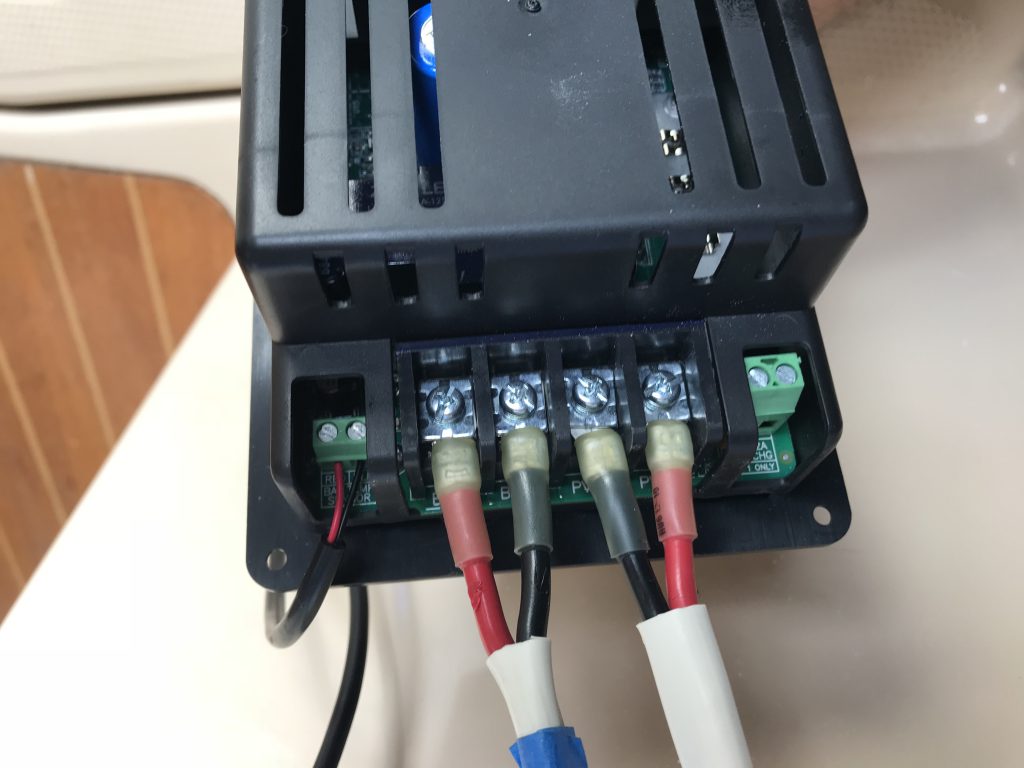
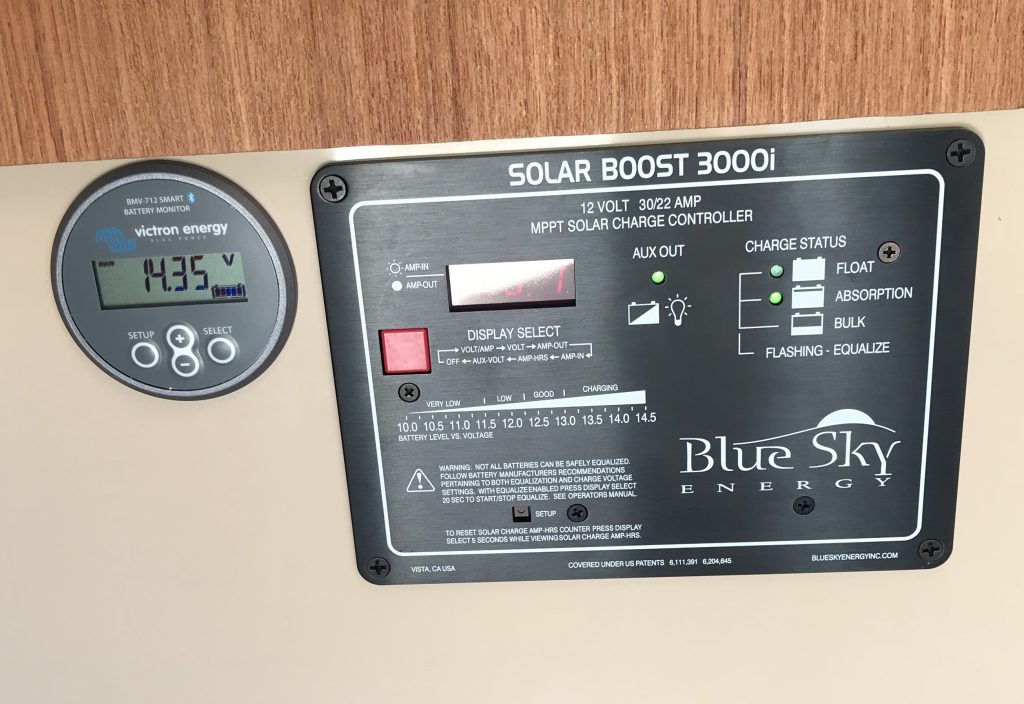
The controller I am using is the same unit I have had success with in the Airstream. It is made by Blue Sky Systems, which is appropriate. It is an MPPT controller with a temperature sensor, so it should charge the batteries efficiently and safely. The hardest part was cutting a hole in the boat so I could mount the controller below the electrical panel.
I also installed a new device. This is a battery monitor by Victron. It uses a current shunt to measure the amount of energy going in and out of the batteries. Time will tell if this ends up being useful, but it has a bluetooth connection that allows me to monitor the battery status from my phone.
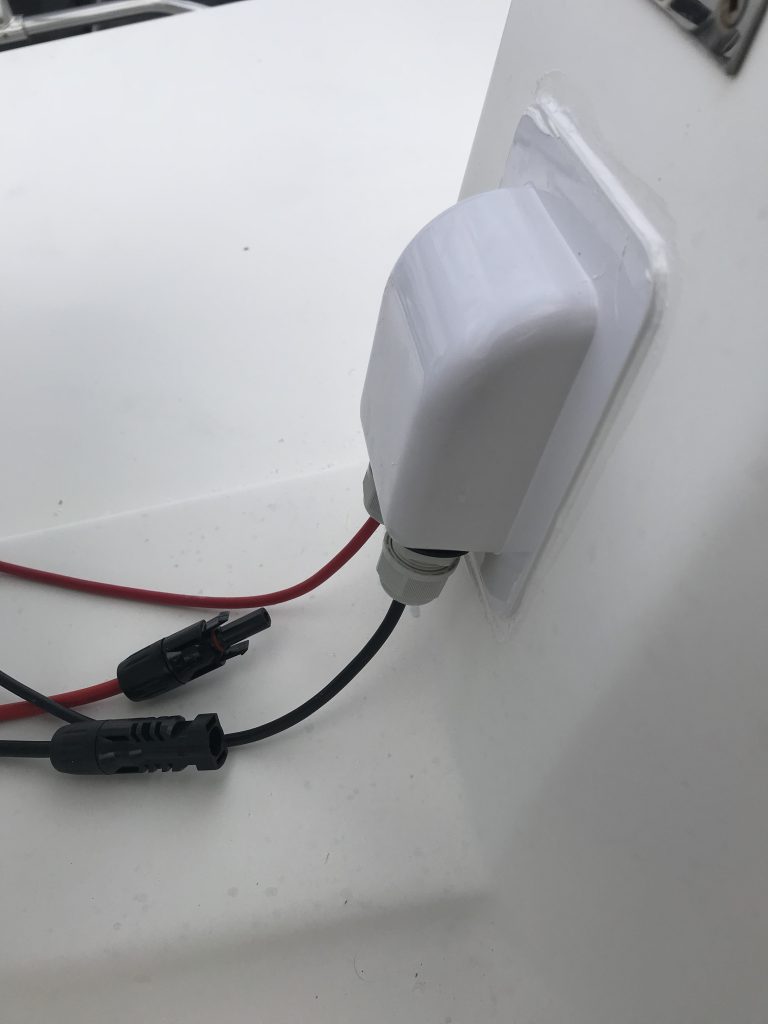
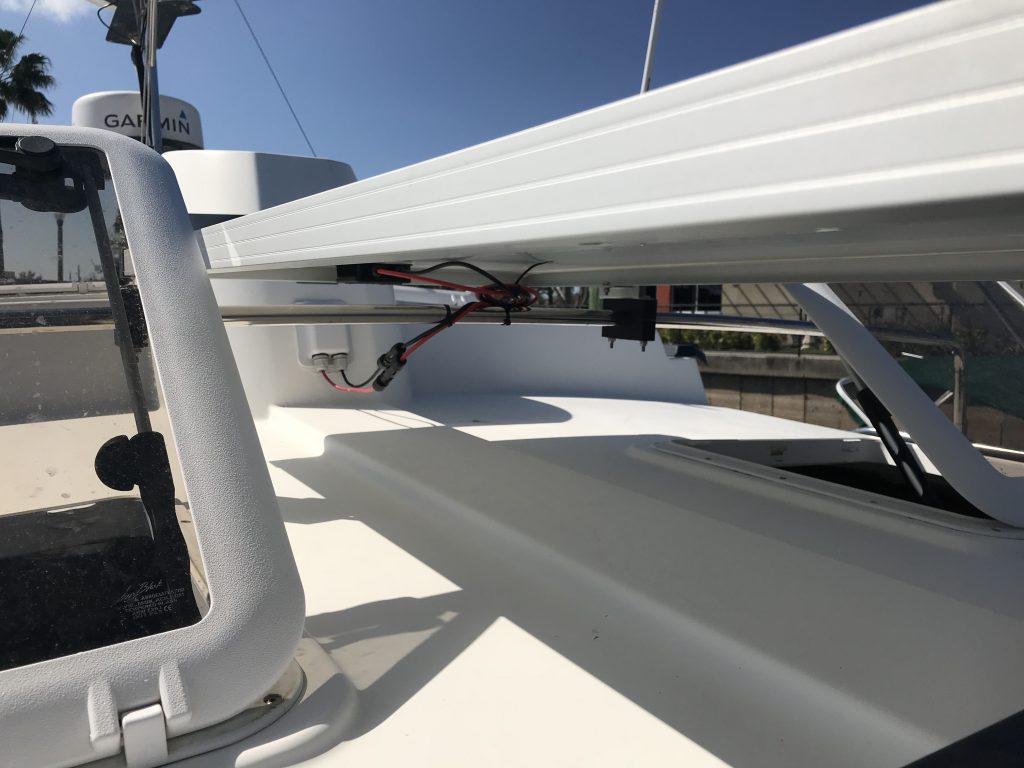
I got everything connected up except for the panel, which I left for last since you don’t want the solar energy traveling down bare ended wires. I had to drill a hole in the “smokestack”. I ran the wire through a moisture protector and then I installed the Renogy connectors that match the ones on the solar panel. With this all done it was just a matter of snapping the connectors together and we were ready to make electricity!
