Preparing for 2019
At the end of our last trip I had assembled a list of things I wanted to repair or replace on the boat. Since I enjoy doing projects I decided to tackle as many of these by myself, and hopefully save a little money along the way. So I started right away on the most difficult items with hopes that I could get most if not all of them finished by the time we set sail in the spring. Here is my list.
Repairing the water damaged cabin sole
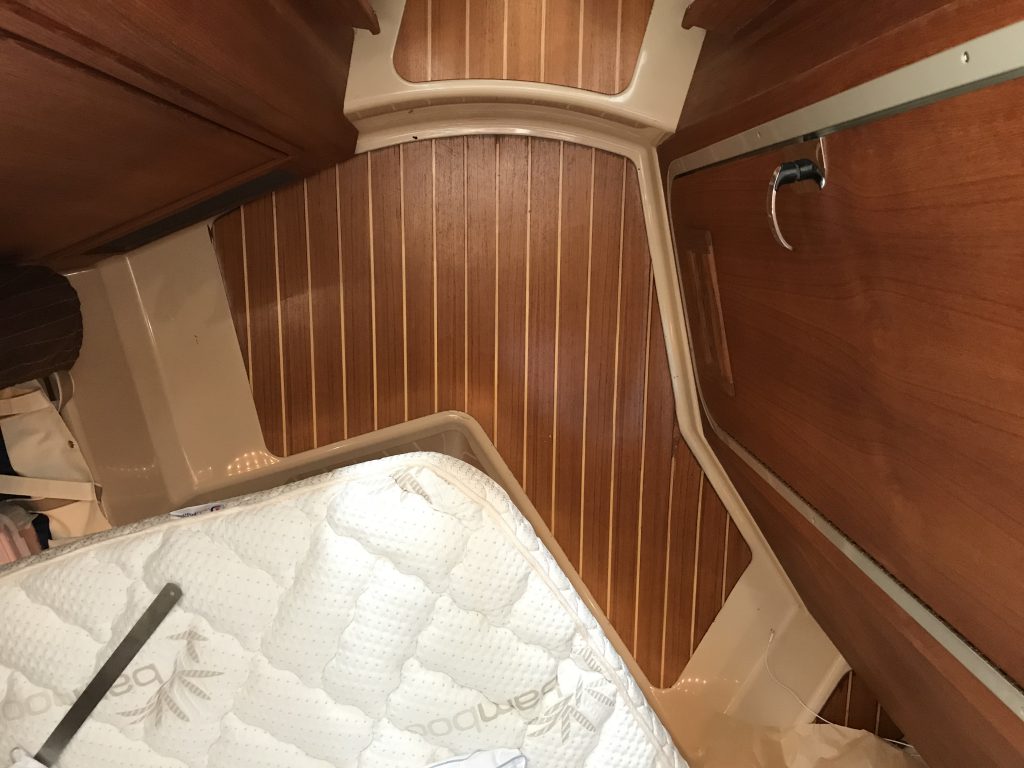
At some point over the course of the past year we developed a leak that was allowing water to drip down into the floor of the v-berth. I eventually located the leak, but the damage was already done. The cabin sole is 6mm teak and holly plywood that is glued to the fiberglass. It acted like a sponge and soaked up all the water. Eventually the plywood started to delaminates and that was very irritating and somewhat dangerous when walking barefoot. Man, I hated that this happened. So I was determined that I would get it fixed.
The first trouble I encountered was finding the replacement wood. Teak and holly plywood isn’t something that you can buy at the local Home Depot, and having a 4×8 sheet of anything shipped is quite expensive. I eventually located a source in Ft. Lauderdale that I could drive to in my pickup and haul it home. The single sheet cost a whopping $180, but I was happy to avoid the shipping charge.
I wanted to remove the old piece first, but I wasn’t sure if I could get it to come out in one piece to use as a pattern for cutting the replacement. So before I tried to remove it I made a paper template. The factory was not willing to provide me with a cad drawing of the piece, so I would have to make it myself. I used my paper template to cut a full size template from 1/4” birch plywood. I verified that this piece matched in the. Boat. With the knowledge that I had the ability to cut a replacement I went ahead and pulled the old piece out. It came out in one piece after all so I used that as my template.
I traced the shape onto the back side of the insanely costly piece of plywood that I had purchased, and with mulch deliberation I eventually cut out a new cabin sole with my Bosch jigsaw. Some sanding of the edges was required before I had a perfect replacement. I was told that the factory uses Minwax satin polyurethane to finish the cabin sole, so I did the same.
I was pretty happy with the results so I used some 3m 5200 adhesive to install the new piece into the boat. What a difference! It turned out so good! I couldn’t be happier.
Repairing headboard upholstery
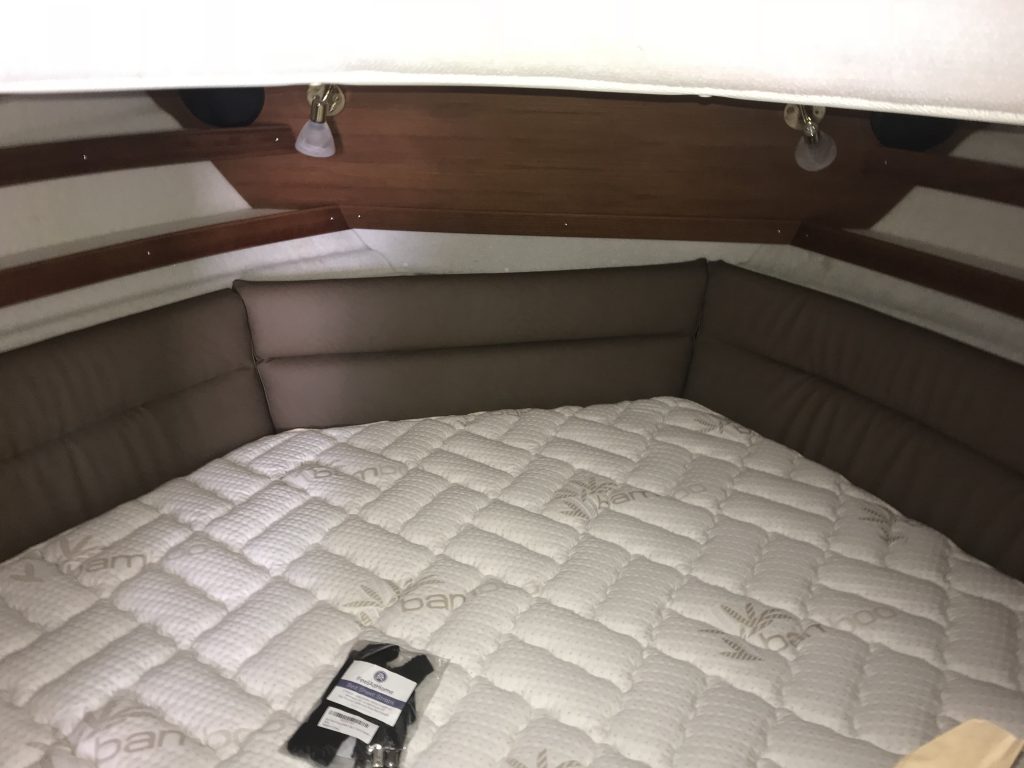
Soon after we bought the boat we started to notice that the fake leather was starting to peel off the headboard in the v-berth. At one point it got so bad that I had to resort to putting clear tape over the worst parts. We were annoyed by the makeshift appearance but there was little that could be done while we were traveling.
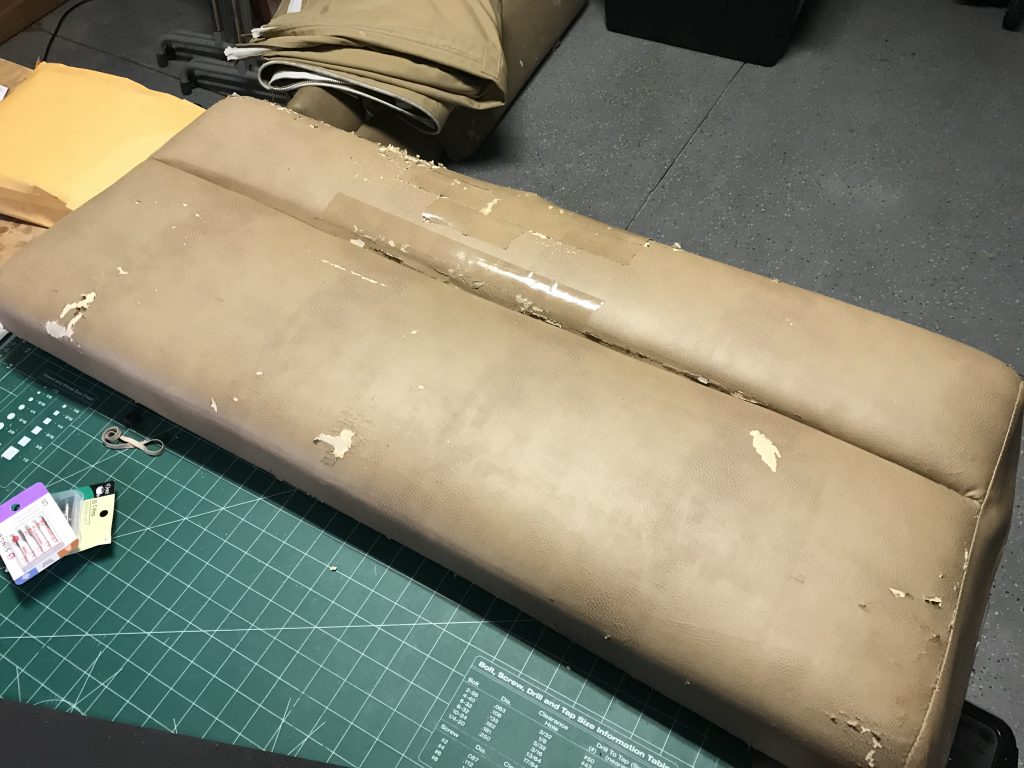
So when we got the boat docked in Sanford one of the first things I did was to remove the headboards and bring them home. They were easily removed, and once I had a chance to see how they were made I realized that it was a project I could attempt myself. The results didn’t have to be perfect. I was just hoping that I could replace the old material in such a way that it would be less noticeable than the mess they were in when I took them out.
After a little online research I figured out that if I had a heavy duty sewing machine I could fabricate new covers that should match the old ones identically. So I ordered a Singer sewing machine from Amazon and then I hid my man-card before stopping in at the local fabric store. I found some vinyl that looked pretty close to the material I wanted to replace. I also bought some heavy duty thread. I’m Mary Poppins, y’all.
I carefully disassembled each headboard and removed the stitching to separate each fabric piece. I used these as patterns for cutting the replacement pieces. When I had all the pieces cut out, I did my best to sew the new pieces together in a similar fashion that I observed when I disassembled the old pieces. The new covers were fitted over the foam and I used a staple gun to attach the covers.
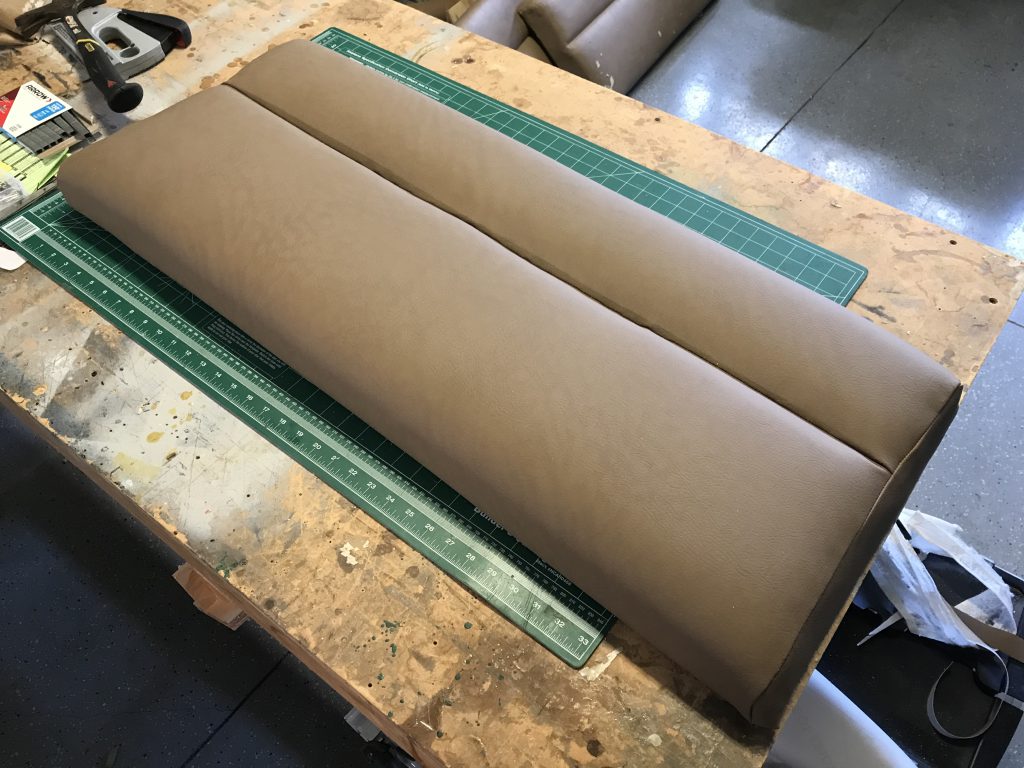
When I put the re-covered headboards back in the boat it was an immediate improvement. I am not going to claim that they are perfect, but they are so much better than the old ones that it was definitely worth the time and effort.
Adding Dinghy Davits
I purchased a dinghy last year but never used it because I didn’t have a motor and we were seldom in places where it would have made sense to go to the trouble to set it up. Then I got an awesome electric motor for my birthday. It is a Torqeedo Travel 1003C. It has a long range lithium battery, and a built-in GPS to provide range information in real time. So I decided I had to make the dinghy more useful by attaching it to the back of the boat. I had seen the same West Marine dinghy on davits at a marina earlier in the year, so I ordered Weaver davits that are specially made for our boat.
The hardest part of the installation was mounting the davit pads onto the dinghy itself. I had to use some rather nasty smelling two-part glue in order to affix the pads to the PVC sides of the dinghy. This glue took several days to cure.
I haven’t gotten the dinghy hooked up to the davits yet. I will set it up prior to our departure date from Jacksonville.
Cockpit Table
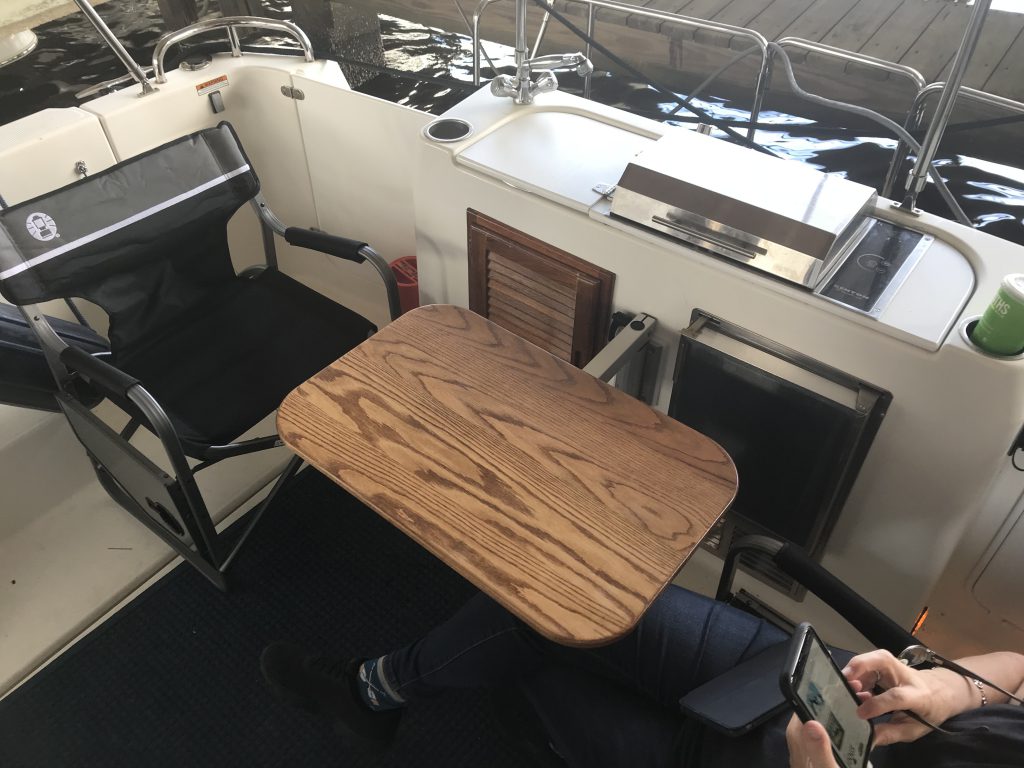
This one wasn’t on my original list, but I found a solution that I thought would be perfect, so I decided at the last minute to try to put something together.
The mount I found is from Lagun (https://www.lagunusa.com)
Solar Panel
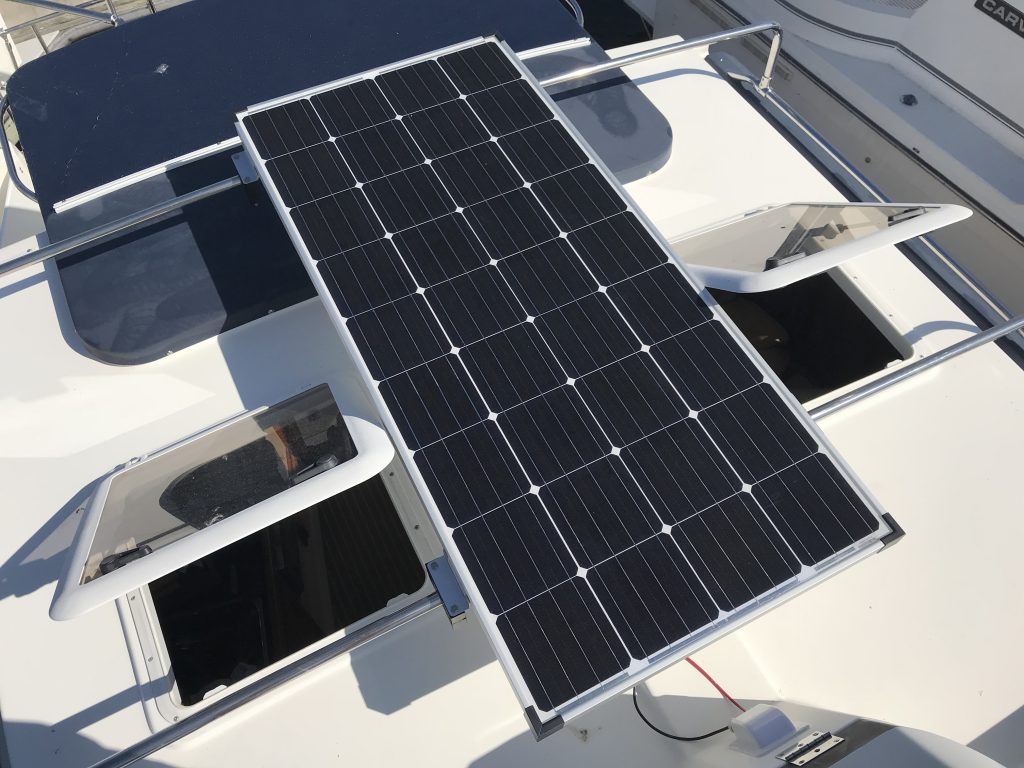
You can see my write up about the solar panel installation here.
Replaced water pressure regulator
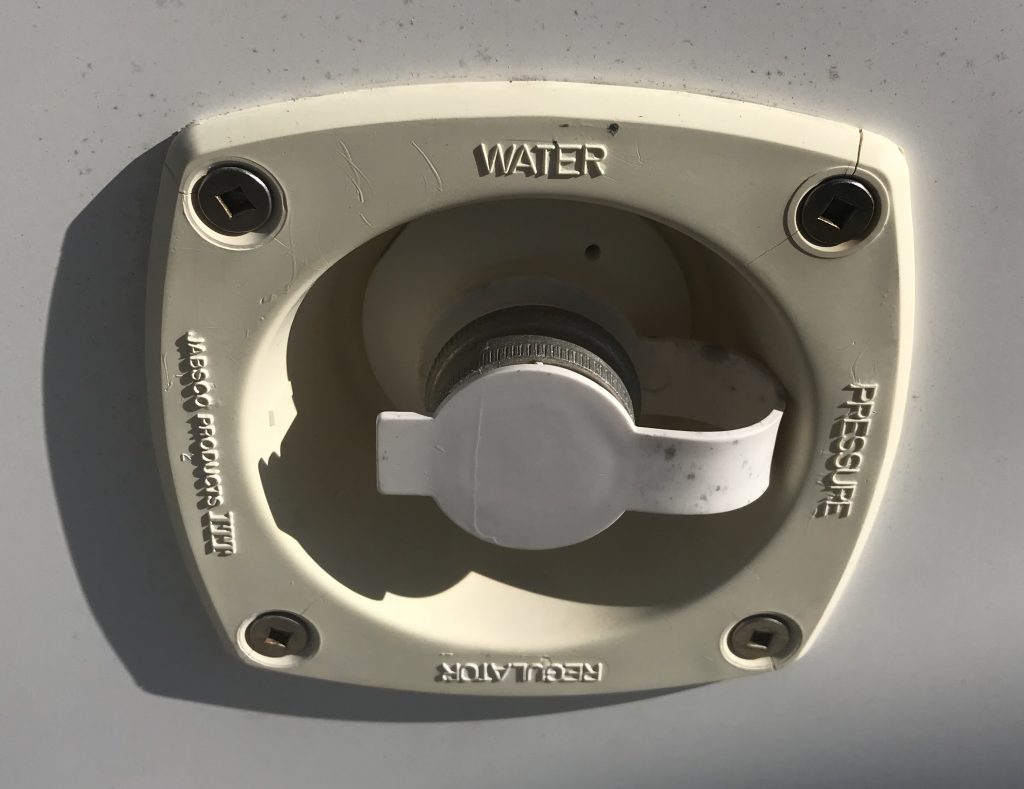
This needed to be fixed even though I have never used it. The tricky part was that they don’t make this model any more. So rather than figure out a mounting solution for the new model, I found an old one on eBay.
Bought New Lines
I ordered four new lines to replace the four that have been in regular service for the past year. I ordered double braided nylon lines from an online store. These are 5/8” by 25’ long lines, which is overkill for this size boat, but I like the way thicker lines behave. They were pricey at $40 apiece.
Cleaned Fenders
I took the fenders home and scrubbed them as best I could. In one case I replaced the line as well.
New Chairs
The old ones were not very useful, so I replaced them with some Coleman director style chairs.
Replaced lower bilge pump
I was concerned about an increased amount of water in the bilge. There was enough water down in the bilge that the secondary bilge pump was switching on to handle it. In hindsight I should have taken care of this sooner, but I didn’t realize that the pump had failed.
So I started investigating what could cause the bilge pump to not run. I tried the manual switch and it wouldn’t run. This switch bypasses the float switch and provides power directly to the pump. I also found a blown fuse on the float switch side of the power circuit, so I replaced it with a new one. That didn’t solve the problem either. So I determined that this meant the pump was most likely dbad and not the float switch. Fortunately this is a cartridge-style pump that is easily replaced by removing the old cartridge and wiring in the replacement. I was able to order the replacement 1000 gph pump for thirty bucks, and wiring it was not difficult. The hardest part was reaching down into the lowest part of the engine compartment.
Replaced shower hose
The wet bath in the boat has a shower head that is connected by a 5’ hose. I noticed that the hose had developed a small leak and was starting to corrode. These are easily ordered from Amazon for ten bucks, and the installation took 5 minutes.
New vhf microphone
The microphone on the Garmin VHF 200 was working, but the cable was disintegrating. Every time I used it there would be small pieces of the cable all over the floor. I had to return it to Garmin for repair because they no longer offer it for sale. Fifty bucks and a week later I had a new microphone!
Engine Maintenance
It was also time for some regular maintenance on the engine, so I did an oil change, changed the fuel filters, and replaced the engine zincs. We are good to go for another 250 hours.
Bottom Paint, Polish and Wax
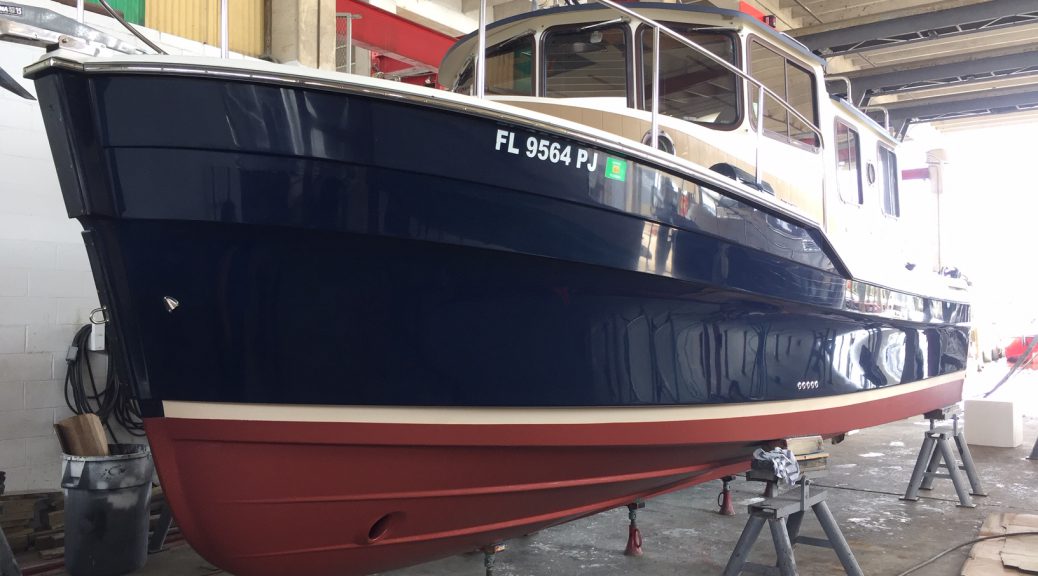
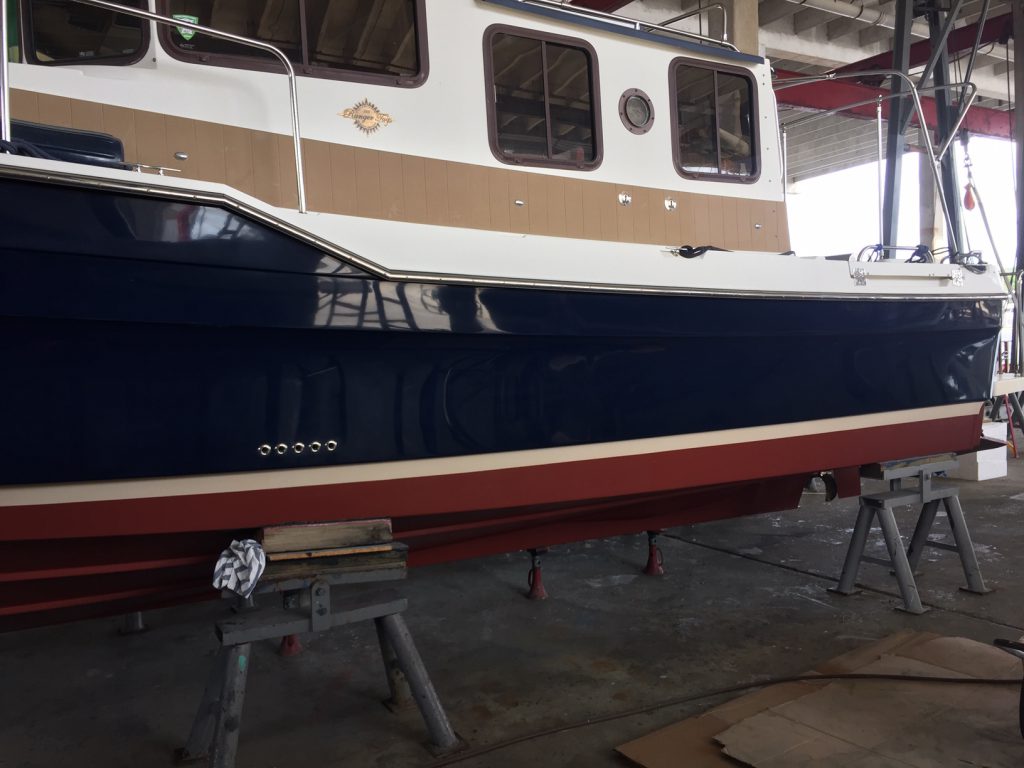
We brought the boat to Lamb’s Yacht Center in Jacksonville, where they gave Blue Sky a fresh coat of bottom paint. While we had her out of the water we also had the hull polished and waxed.
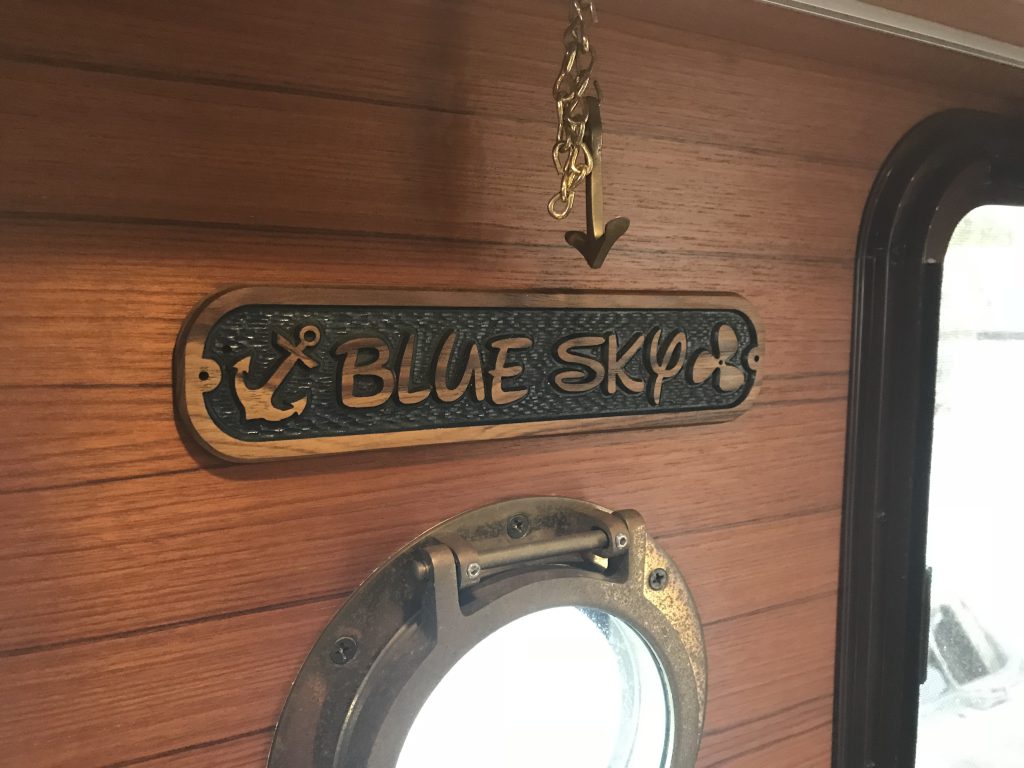
And finally… a Sweet Boat Name Plaque
2 thoughts on “Preparing for 2019”
Very cool. Thanks for the update!
Wow!! You have been busy. Great job Mary Poppins 🙂 everything looks great!